Thinking about listing your Leslieville century home, loft, or semi in the next 6 to 12 months? You are not alone. Buyers here love character, light, and move-in ready spaces, which means the right prep and marketing can make a real difference. This guide gives you a clear, high-impact plan tailored to Leslieville, including what to do and when, how to present each property type, and the rules that keep your listing compliant and credible. Let’s dive in.
Leslieville market signals now
Before you spend a dollar, anchor your plan to the market. Citywide trends shift, and the Greater Toronto Area has seen periods of lower sales and softer averages compared with recent peaks. You can track the latest direction in TRREB’s Market Watch.
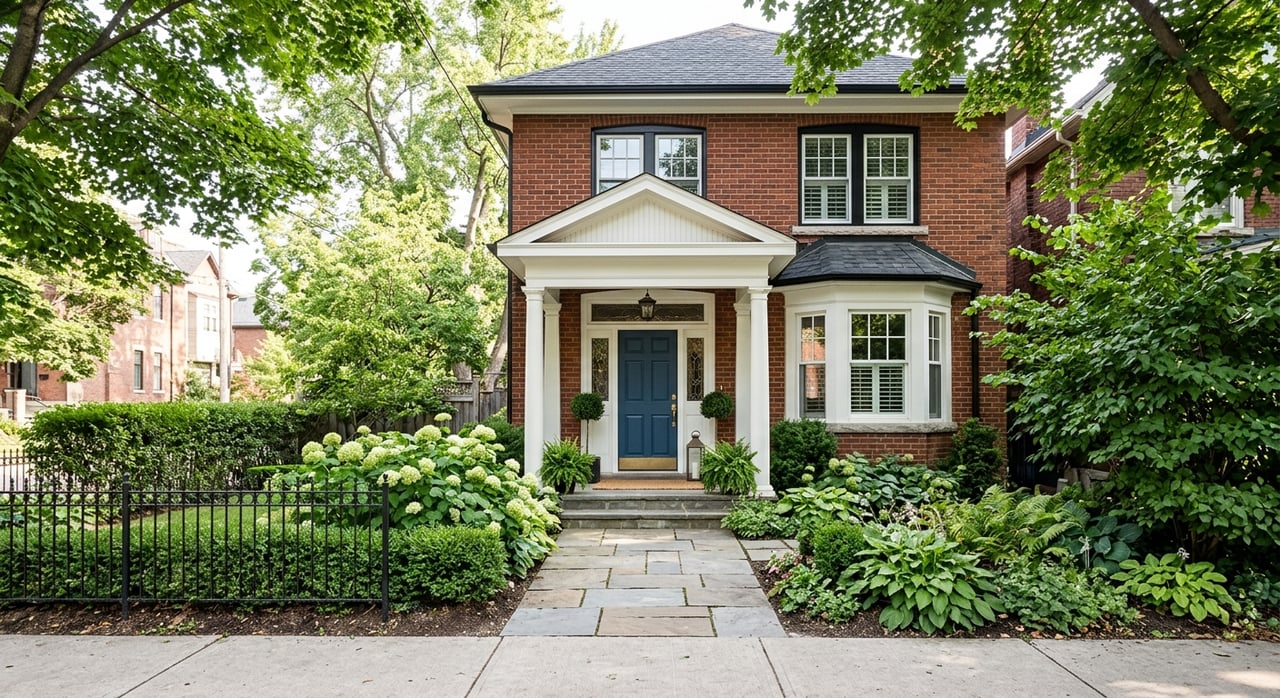
Locally, Leslieville stays in demand for its walkability, cafes, and parks, with buyers who value character and convenience. Neighborhood overviews, like this page about Leslieville, describe a mix of century homes, converted lofts, and semis that attract young professionals and families seeking ready-to-move-in living.
Your next step is a Comparative Market Analysis for your address. A CMA clarifies price band, ideal buyer profile, and where your prep dollars will have the most impact.
The 6 to 12 month listing game plan
9–12 months out: strategy, permits, major work
- Define target buyer and listing tier with your agent using a CMA. Pricing guides your scope and budget.
- If you plan structural work or a new secondary suite, start now. In Toronto, a basement or additional dwelling unit needs drawings, permits, and inspections. Review the City of Toronto guide to secondary suites.
- If your home may be listed or designated, exterior changes can be restricted. Check municipal heritage status before you plan any façade work using the City’s heritage listings agenda.
6–9 months out: inspection, scope, and quotes
- Order a seller pre-listing inspection to identify material issues early. This helps you avoid surprise renegotiations and price with confidence. See this pre-listing inspection overview.
- Get written quotes and timelines for priority repairs like roof, HVAC, and windows. Book trades now to lock in dates.
- If legalizing or adding a suite, submit permit drawings and any required applications. Keep all receipts and approvals.
3–6 months out: staging plan and finish permits
- Decide your staging scope: consult, partial, or full. The Real Estate Staging Association’s statistics show staged listings often achieve stronger marketing performance and faster sales in sample sets.
- Focus staging on the living room, primary bedroom, and kitchen. NAR research on staging highlights these rooms as the highest impact for buyers.
- Complete permitted work and obtain final sign-offs. Organize permits, invoices, and warranties for your marketing package.
1–4 weeks out: photo prep and deep clean
- Book professional photography, a floorplan, and a 3D tour if your layout is unique or open-plan. Schedule a twilight exterior if curb appeal is a strength.
- Declutter, depersonalize, and edit furniture for flow. Replace bulbs with warm, consistent color temperature. Do paint touch-ups and fix small items.
0–3 days before listing: final polish
- Set final staging, clear counters and closets, and confirm lighting and temperature. Walk each room to check sightlines and storage.
Launch week: timing and documentation
- Many sellers choose a Thursday launch to stay fresh for weekend showings. This aligns with an empirical pattern seen in a Redfin analysis on listing day. Use your CMA and local velocity to confirm fit.
- Prepare a buyer info package with your inspection report, permits, receipts for repairs, utilities, and warranty details. Provide it to buyer agents on request to build trust and reduce conditional asks.
Presentation that moves the needle
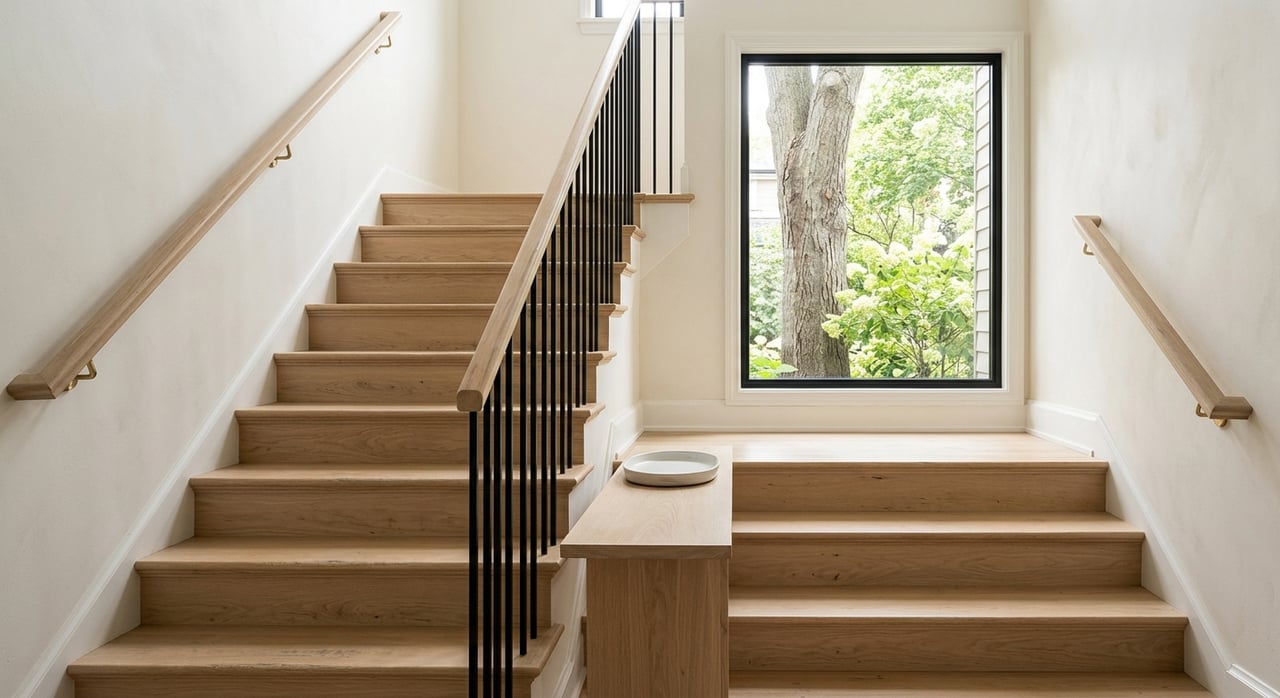
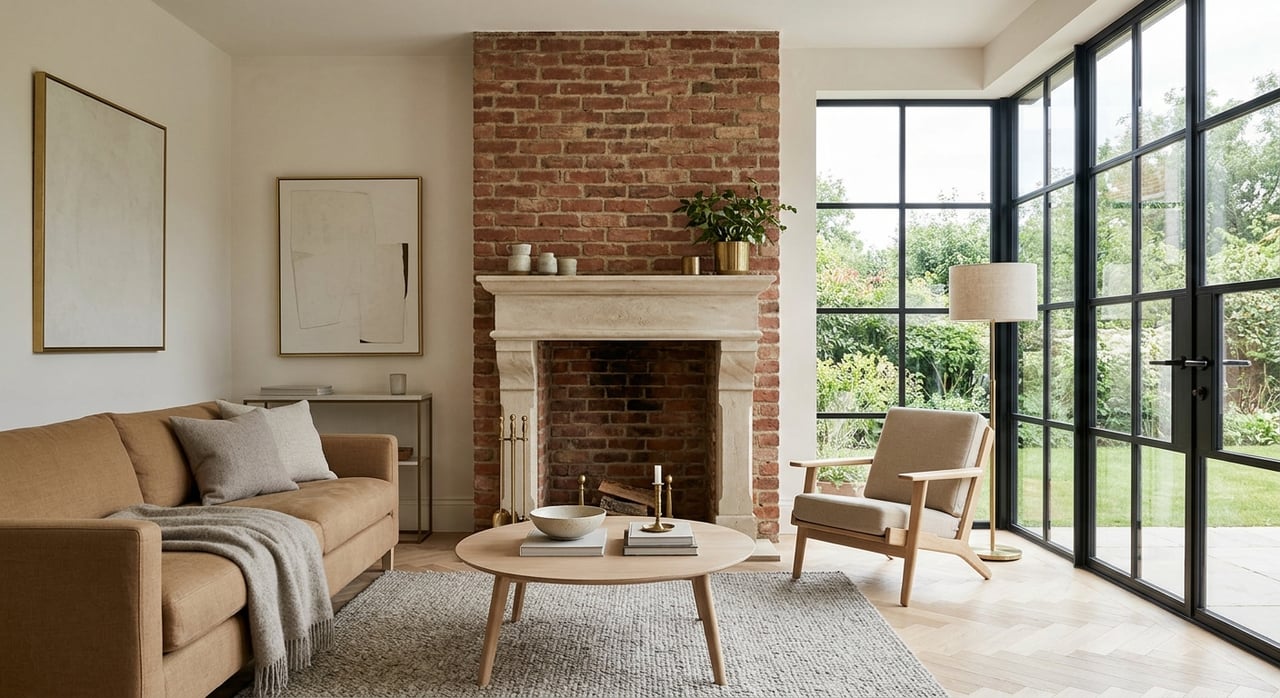
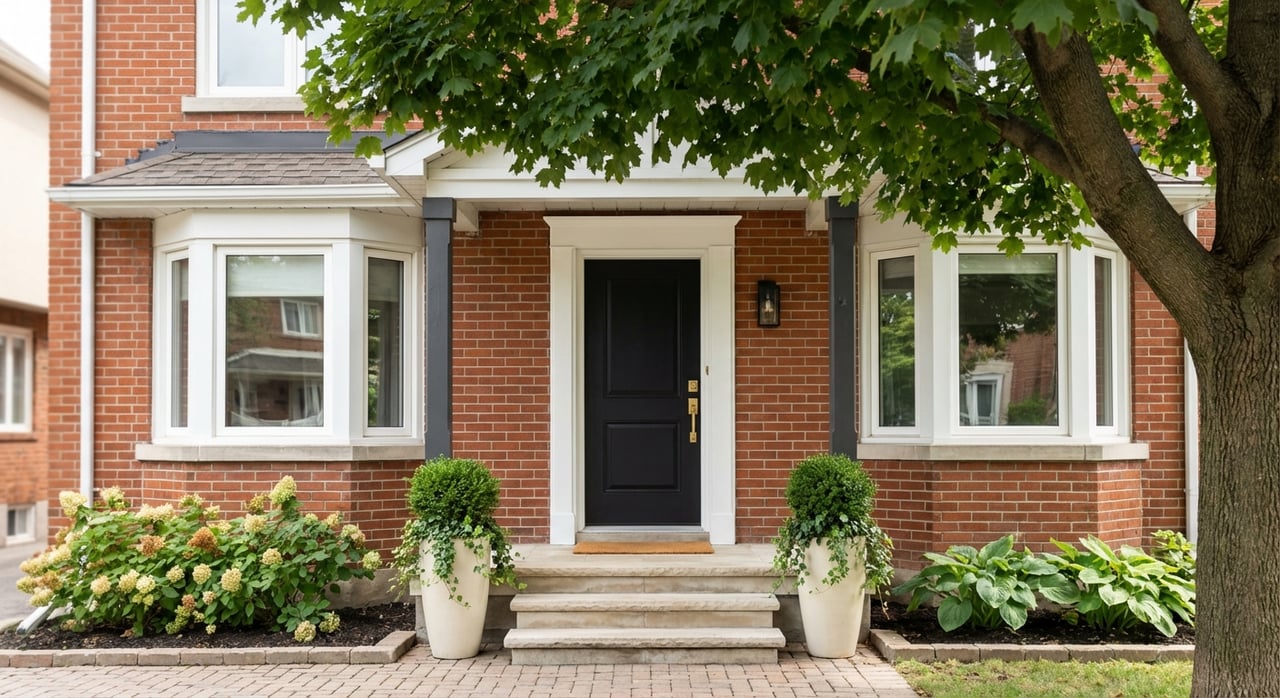
Century and heritage homes
Buyers love period trim, natural light, and a usable backyard, but they also weigh near-term maintenance. Keep updates classic and functional.
- High-impact fixes: neutral paint, hardwood refinishing, modest kitchen and bath refreshes, and curb appeal upgrades like a new door and lighting.
- Documentation matters: organize furnace, roof, and window receipts for buyers.
- Staging and photography: highlight millwork with wide shots and add a twilight exterior to showcase charm. Prioritize the living room, primary bedroom, and kitchen per NAR research on staging.
- Compliance note: exterior changes on listed properties can be restricted. Confirm status via the City’s heritage listings agenda before planning work.
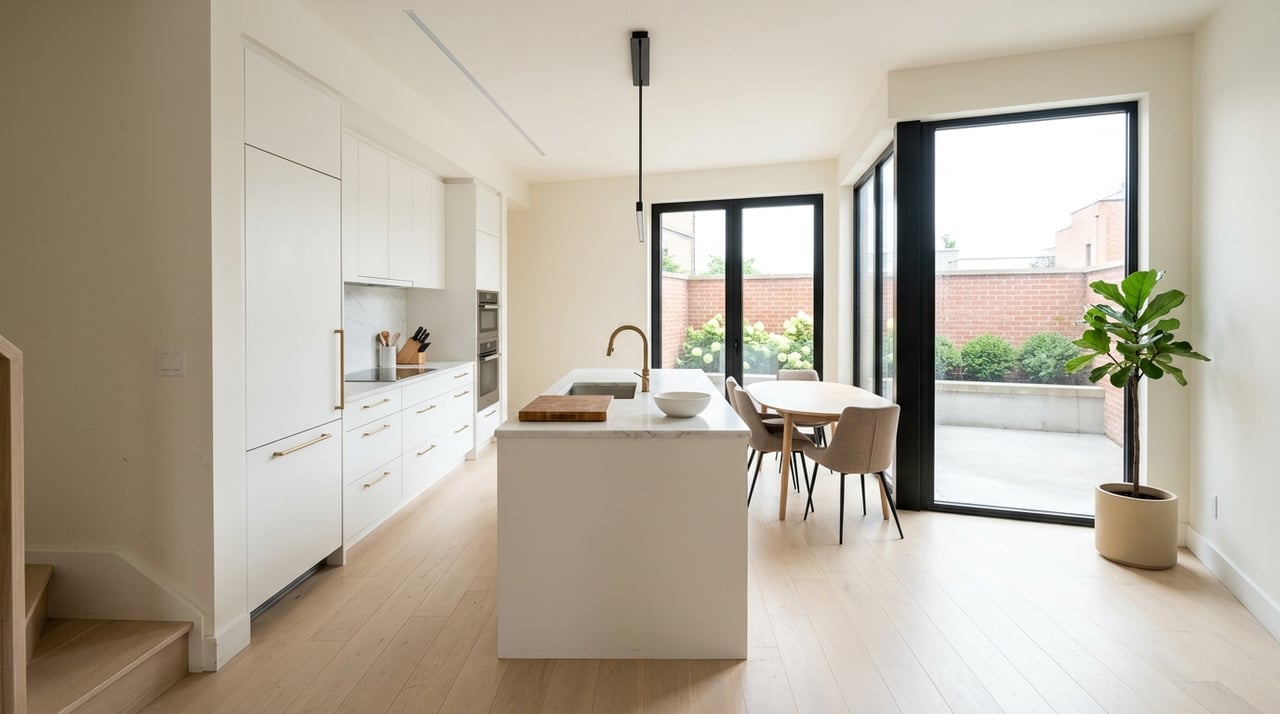
Lofts and soft lofts
Loft buyers respond to volume, light, and clean lines.
- High-impact fixes: remove bulky furniture, simplify décor, and tune lighting to warm, even tones. A 3D tour helps buyers feel the openness.
- Virtual staging can help with vacant lofts. If you use it, follow Ontario rules. Label altered images clearly and include originals in the gallery. See this Ontario virtual staging compliance guide and complementary MLS compliance perspectives.
Semis and townhouses
Function and flexibility are key. Many buyers want an updated kitchen and bath, a practical main floor, and usable outdoor space.
- If you have a basement suite or recent lower-level work, gather permits and approvals. An unpermitted suite can affect financing and insurance. Review the City’s guide to secondary suites.
- Stage to show a clear furniture plan on each level and a defined zone for work or play in the basement.
Marketing assets buyers click
Invest in media that makes your home feel easy to understand and easy to love.
- Photography: 15 to 25 professional images that are bright, consistent, and editorial in style. Add a twilight exterior if curb appeal is a strength.
- Floorplan: a measured plan clarifies flow and room sizes.
- 3D tour: especially helpful for lofts or unusual layouts.
- Captions and compliance: if any image is virtually staged or digitally altered, label it clearly and include originals in the gallery. The Ontario virtual staging compliance guide and these MLS compliance perspectives outline best practices.
Budgeting and ROI: what to expect
- Staging is a marketing investment. The Real Estate Staging Association’s statistics report that staged homes in their samples commonly show stronger sale-to-list performance and fewer days on market. Results vary by price tier and timing, so use these snapshots as guidance rather than guarantees.
- Cost ranges depend on scope. NAR research on staging shares median cost ranges in U.S. samples, and RESA snapshots show higher average investments in full professional staging. Get local quotes to match your property and target buyer.
- Prioritize visible wins first: the living room, primary bedroom, and kitchen almost always deliver the best return on attention.
Quick seller checklist
- 9–12 months: Confirm target buyer and price band with a CMA. If structural work or a secondary suite is in scope, start permits and design. See the City’s secondary suite guide. If heritage status is possible, check the heritage listings agenda.
- 6–9 months: Order a pre-listing inspection. Get quotes and book trades for repairs.
- 3–6 months: Finalize staging scope. Reference RESA statistics for planning and budget ranges. Wrap permits and collect documentation.
- 2–4 weeks: Declutter, deep clean, touch up paint, and stage key rooms. See NAR research on staging for room priorities.
- 1–2 weeks: Shoot professional photos, floorplan, and 3D tour. Prepare the seller info package.
- Listing day: Consider a Thursday launch, supported by Redfin’s listing-day analysis. If you use virtual staging, label altered images and include originals per Ontario compliance guidance.
Put a polished plan in motion
You deserve a listing experience that is calm, strategic, and beautifully presented. If you want a tailored roadmap for your address, including a budget, staging plan, and media timeline, reach out for a concierge approach from start to sold. Request a personalized market plan with Catherine Mortimer.
FAQs
When is the best time to list a Leslieville home?
- Spring often brings higher buyer activity in the GTA, but your optimal week depends on local inventory and your property type. Many sellers choose a late-week launch to capture weekend traffic. Your CMA and current market data should guide timing.
Do I really need a pre-listing inspection in Toronto?
- A seller inspection surfaces issues early, helps you price with confidence, and can reduce renegotiations. It also lets you present repairs and receipts proactively to buyers.
What if my basement suite is unpermitted?
- Unpermitted work can affect financing and insurance. Talk to your agent about current requirements and speak with the City about permitting or legalizing before you go to market.
Are virtual staging and photo edits allowed on Toronto MLS?
- Yes, with clear disclosure. Label any virtually staged or altered images and include originals in the gallery to avoid misleading advertising and to meet board expectations.
How much should I budget for staging in Leslieville?
- Costs vary by scope, property size, and target tier. Industry snapshots show everything from consult-only to full staging in the low thousands. Focus on high-impact rooms first and get local quotes tailored to your home.